


If you’re a homeowner trying to figure out what your roof project will actually cost, the roofing estimate process can feel opaque. Contractors use different measuring methods, quote formats vary widely, and it’s easy to wonder whether you’re being quoted fairly. This guide breaks down every step of getting an accurate estimate, what to prepare beforehand, and how to spot the red flags that lead to budget surprises.
Key Takeaways
- Prepare your roof’s history, past repairs, and any visible damage before a contractor visits.
- A thorough roofing estimate process includes a physical inspection, not just measurements from the ground.
- Material type, roof pitch, and accessibility are the biggest cost drivers in any quote.
- Getting at least two to three estimates helps you compare scope, not just price.
- A free roofing estimate from a licensed contractor is a reasonable starting point for any project.
What You Need Before You Start
Getting an accurate estimate starts before the contractor ever shows up. The more prepared you are, the more useful and comparable the quotes you receive will be.
Tools and Materials Checklist
Before requesting estimates, gather the following:
| Item | Why It Matters |
|---|---|
| Roof age and installation date | Helps the contractor assess remaining lifespan |
| Past repair records or invoices | Reveals existing problem areas or patchwork |
| Photos of visible damage or leaks | Gives contractors a starting point before the visit |
| Attic access information | Allows inspection of decking and ventilation |
| Homeowner’s insurance policy details | Relevant for storm damage or partial replacement claims |
| Property measurements (approx. sq. footage) | Cross-check for estimate accuracy |
Having these items ready shows contractors you’re an informed client, which often results in more detailed and honest quotes.
Safety and Prep Considerations
Before any contractor walks your property, clear the driveway and yard of vehicles, patio furniture, and debris near the roofline. This makes physical access easier and reduces liability concerns. If you have skylights, solar panels, or HVAC equipment on the roof, note their locations in advance.
These features affect both labor time and material requirements, and failing to disclose them upfront can lead to revised quotes mid-project.
Step-by-Step Walkthrough of the Roofing Estimate Process
A professional roofing estimate should always include a physical roof inspection, a written scope of work, a material breakdown, and a clear timeline. Any quote delivered without a site visit is speculative at best.
Step 1: Assess the Current Situation
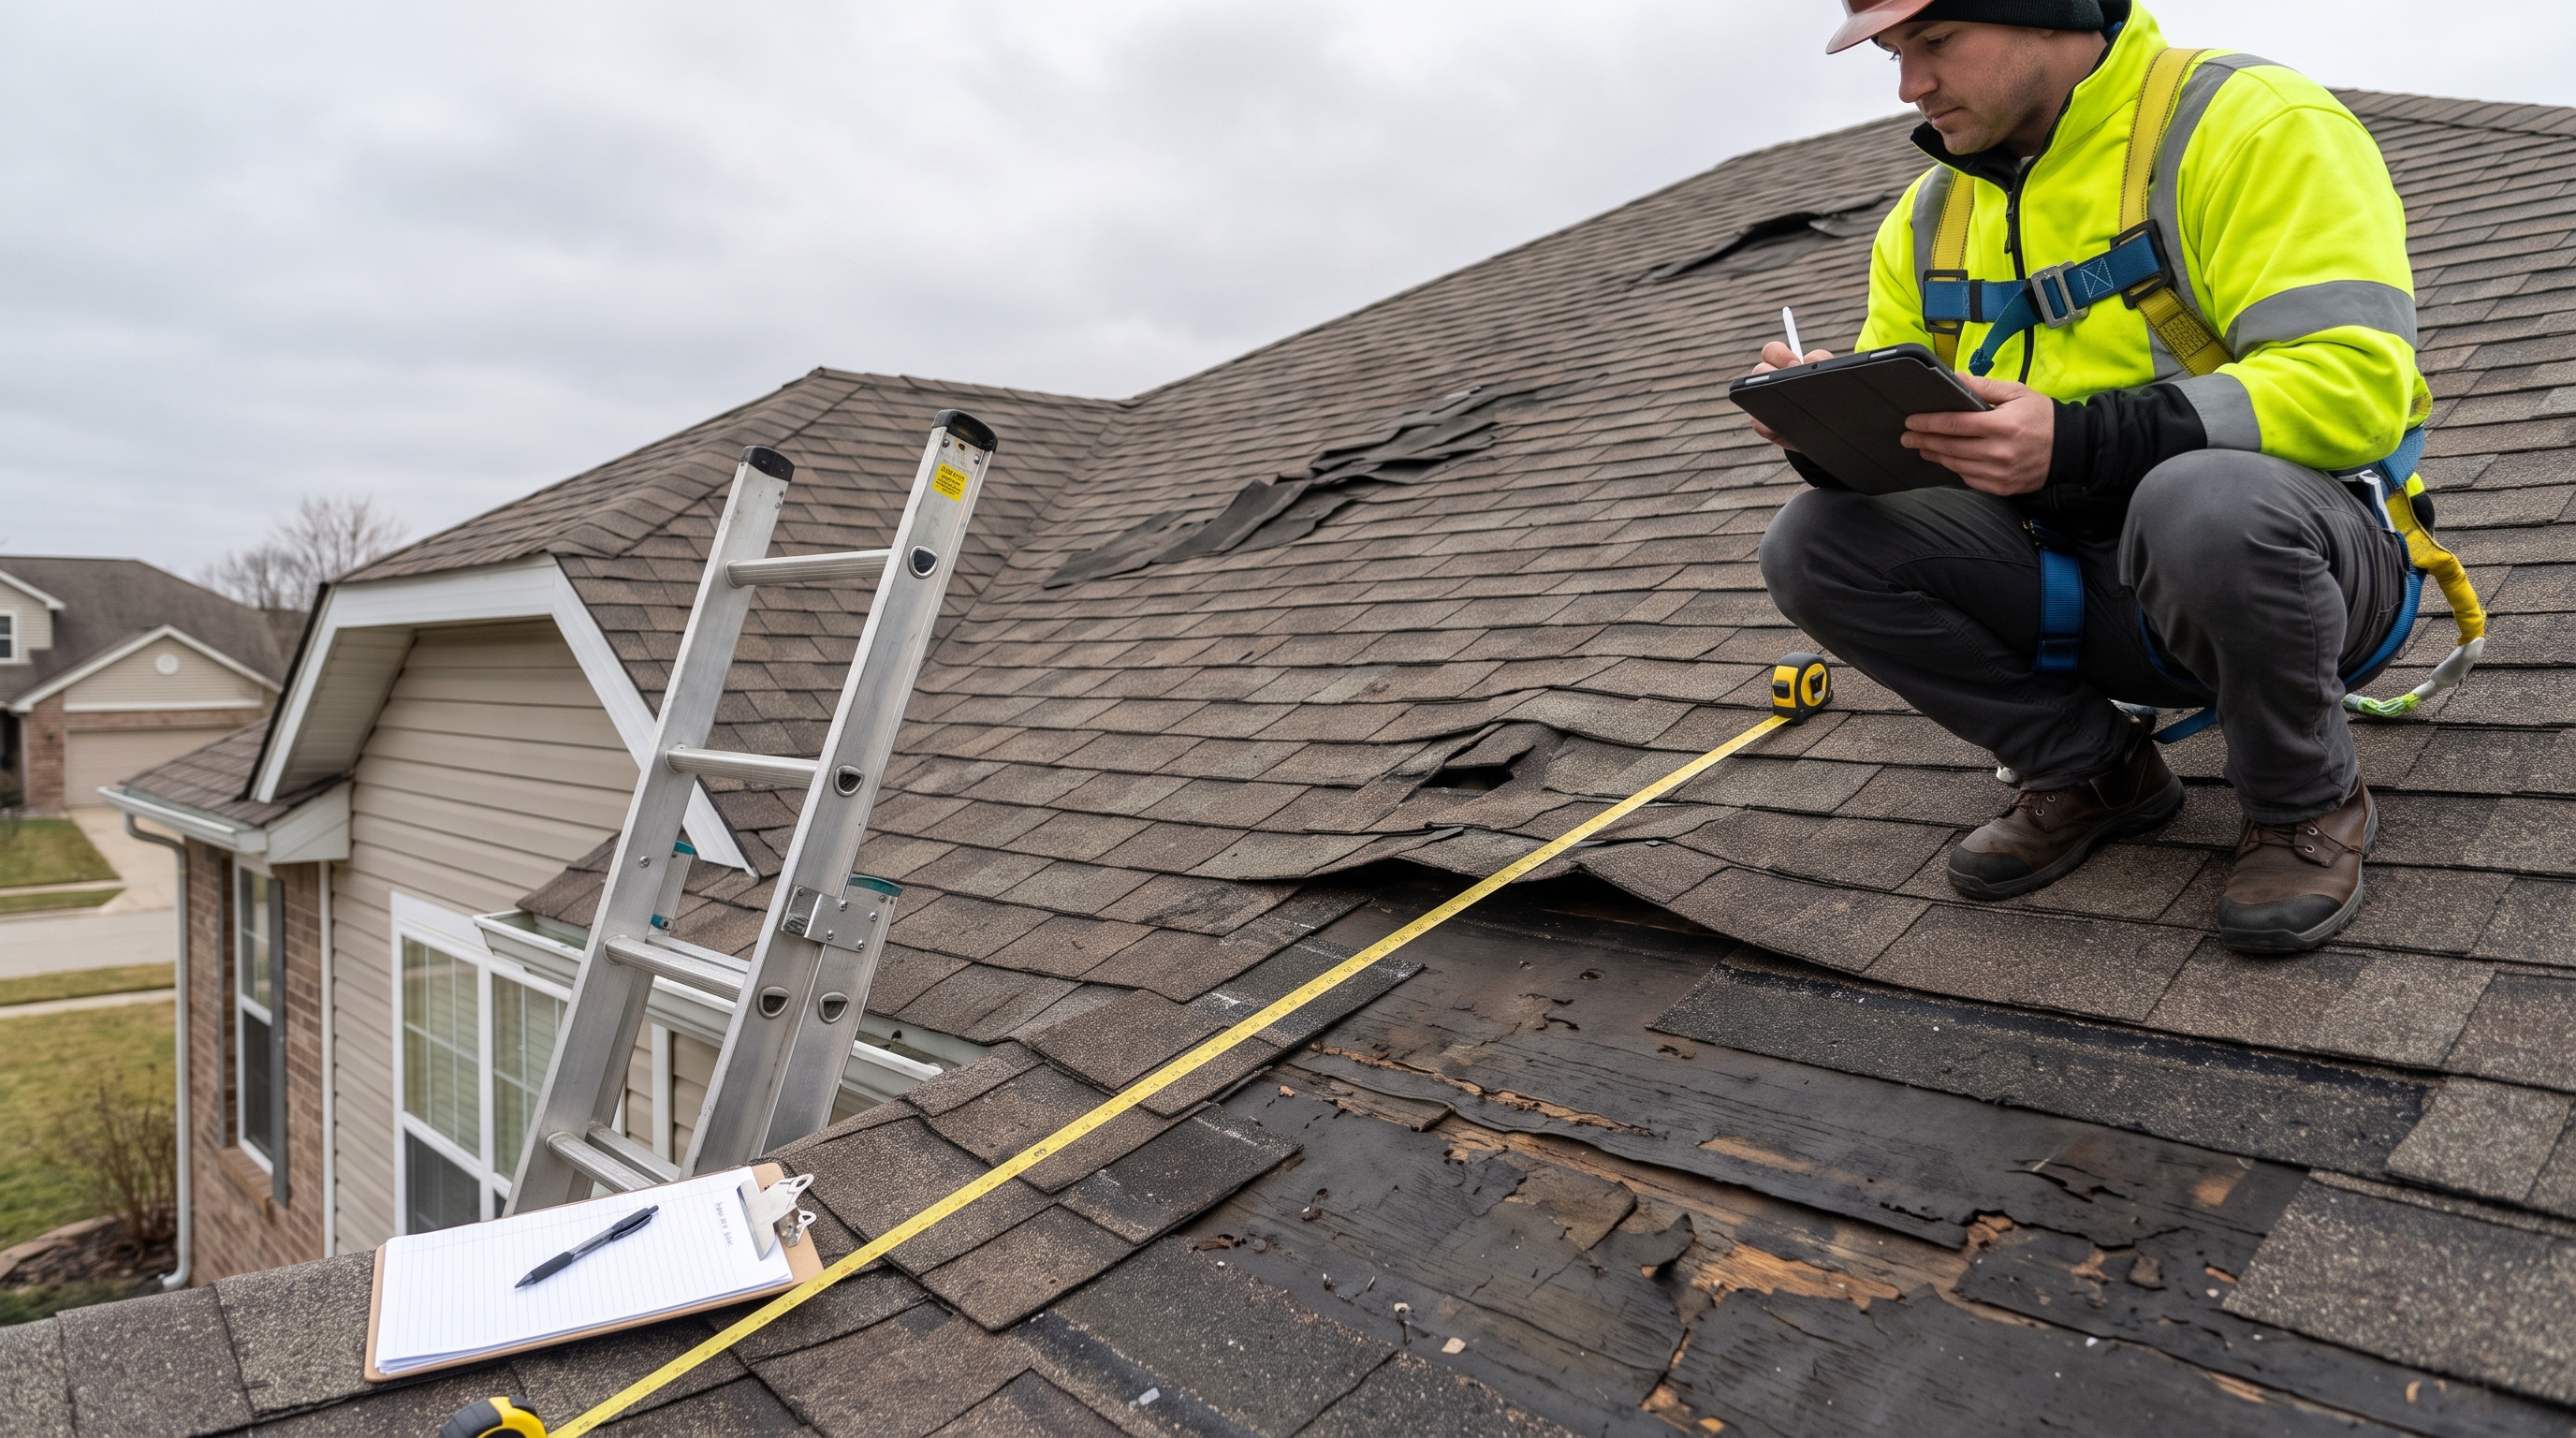
The first step is a thorough on-site inspection. A qualified contractor will walk the roof, check the gutters, examine flashing around chimneys and vents, and assess the condition of the decking beneath the shingles. In our experience, conditions discovered during this walkthrough routinely add 10, 20% to an initial ballpark figure, which is exactly why a physical visit is non-negotiable.
During the inspection, the contractor identifies whether you need a full roof replacement, a localized Roof Repair, or something in between. The scope of work determined at this stage drives the entire estimate. Ask directly: what are you finding, and what does it mean for the project?
Step 2: Prepare the Work Area
Once the inspection is complete and you’ve agreed to move forward with an estimate, the contractor should document the roof’s dimensions, pitch, and any structural concerns. Roof pitch directly affects material quantity and labor time. A steep-pitch roof requires more safety equipment, slower installation, and often 15, 25% more crew hours than a low-pitch counterpart, according to industry labor guidelines.
The contractor should also note penetrations (chimneys, skylights, vents) and the condition of existing flashing and underlayment. These details separate a precise estimate from a rough ballpark.
Step 3: Execute the Core Work
When you receive the estimate, it should be itemized. A professional quote breaks down:
- Materials: shingles, underlayment, ice and water shield, flashing, ridge cap, nails, and drip edge
- Labor: tear-off of existing roofing, installation, and cleanup
- Disposal: dumpster or haul-away fees for old roofing material
- Permits: many jurisdictions require a building permit for full replacements
- Warranties: manufacturer material warranty and contractor workmanship warranty
If a quote arrives as a single lump sum with no line items, ask the contractor to break it down. Vague estimates make it impossible to do a fair apples-to-apples comparison across multiple contractors. You can learn more about what professional installation looks like by reviewing the full roofing process from inspection through completion.
Step 4: Inspect Quality and Wrap Up
Before signing anything, verify the contractor’s license and insurance. In most U.S. states, roofing contractors are required to carry general liability insurance and workers’ compensation. A contractor without both creates financial exposure for you as the homeowner if something goes wrong on your property.
Ask for references or read verified reviews. Checking what past customers say about workmanship, communication, and cleanup gives you data beyond the quote itself. Top Gen Roofing’s client reviews are publicly available if you want to see how we approach projects before reaching out.
Common Mistakes to Avoid
Skipping Prep or Planning Steps
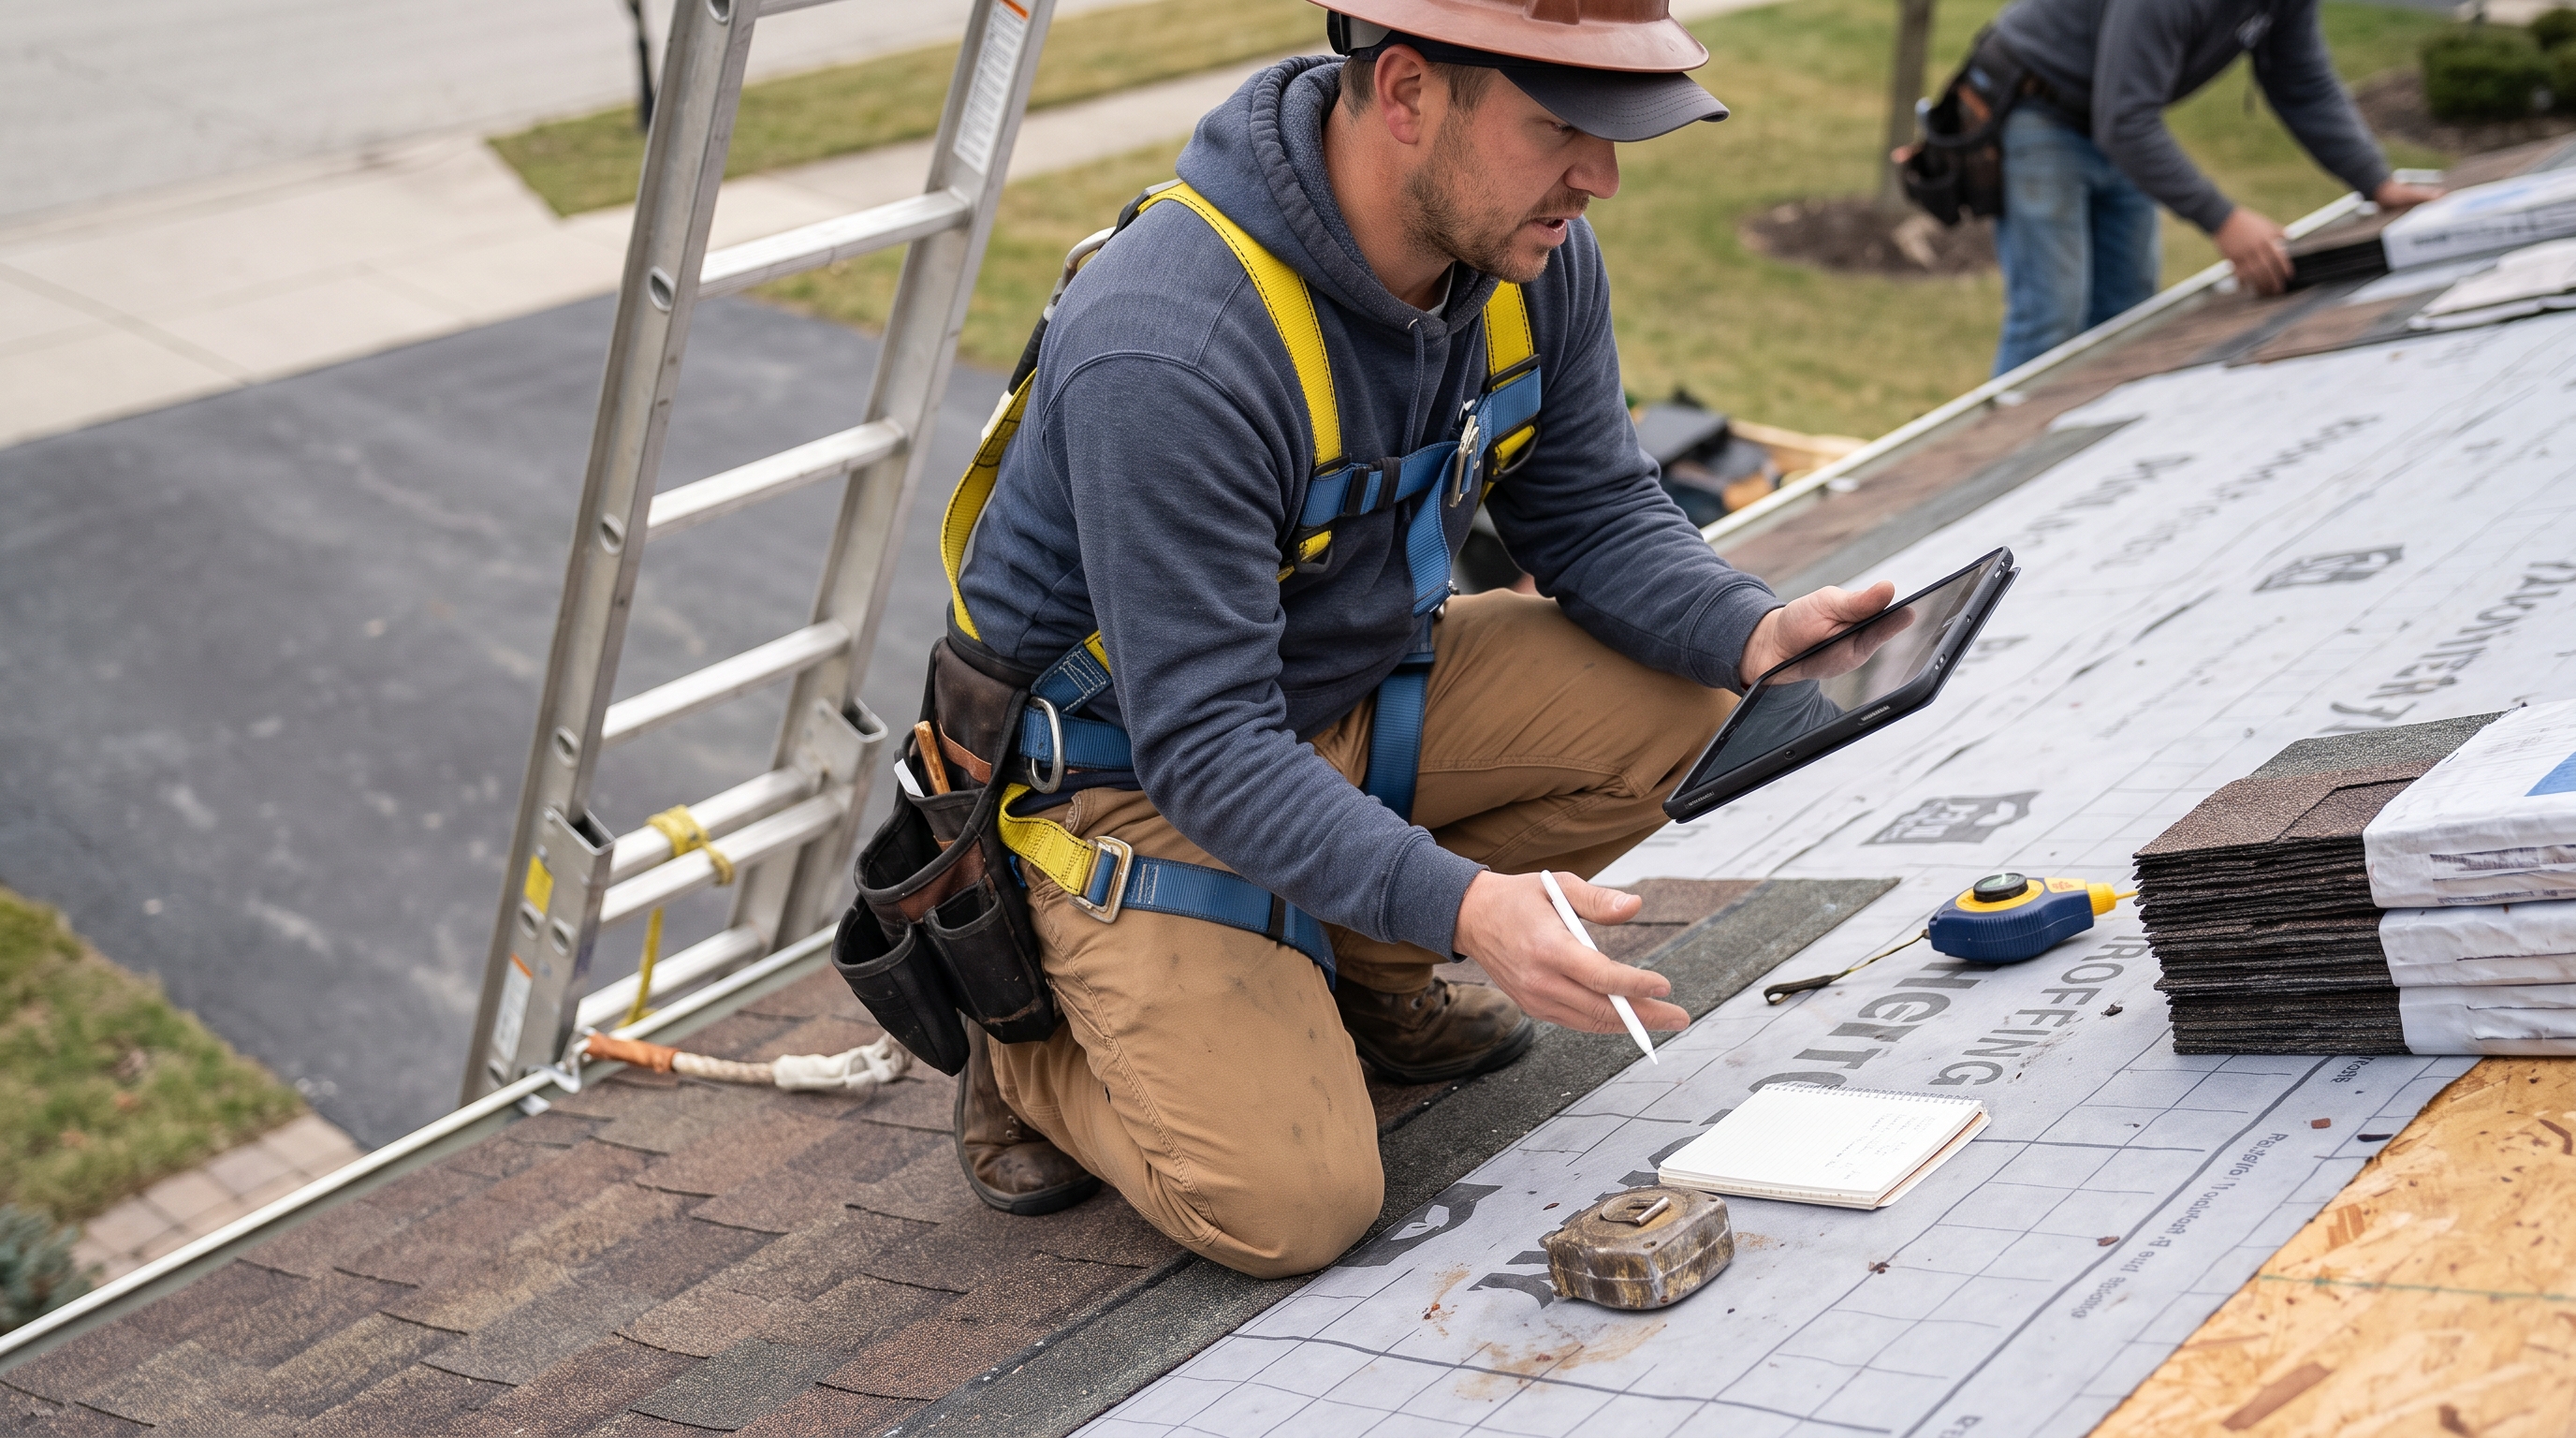
The most common mistake homeowners make is requesting estimates before gathering any background information. A contractor who walks into a completely undocumented situation will quote conservatively or with wide ranges to protect themselves. Your preparation directly influences quote precision.
Cutting Corners on Quality Checks
Accepting the lowest estimate without checking what it includes is a well-documented path to frustration. A lower quote might exclude decking repair, proper underlayment, or code-compliant flashing details. Understanding what each estimate covers, not just what it costs, is how you protect your investment.
When working with clients across Residential Roofing and Commercial Roofing projects, we consistently see that bids missing underlayment or flashing line items lead to change orders averaging $500, $1,500 once work begins. Contractors who follow industry standards referenced by organizations like Werner Roofing or those credentialed through major manufacturers generally include more complete scope in their bids.
Rushing the Final Inspection
Before work begins, confirm the estimate matches the scope discussed during the inspection. Change orders are common in roofing because conditions discovered during tear-off (rotted decking, wet insulation) weren’t visible beforehand. Ask your contractor how they handle unexpected discoveries and whether they communicate changes before proceeding.
This is a reasonable and professional expectation.
Timeline, Cost, and When to Call a Pro
Typical Project Timeline
| Project Type | Typical Duration |
|---|---|
| Single-story shingle repair | Half day to 1 day |
| Full residential shingle replacement | 1 to 3 days |
| Large or complex residential roof | 3 to 5 days |
| Commercial flat roof replacement | 1 to 2 weeks |
Weather, material availability, and crew size all affect these ranges. If you’re in New York’s Capital Region, seasonal timing matters. Heavy snow and freeze-thaw cycles make spring and fall the most active seasons for Roof Installation and Roof Replacement work, with most projects completing within 1, 5 days once materials are on site.
See a detailed breakdown of how long a roof replacement takes in New York to plan your project timeline more accurately.
Budget Ranges and Cost Drivers
Roofing costs vary based on several key factors:
- Roof size: measured in squares (1 square = 100 sq. ft.)
- Material choice: standard 3-tab shingles vs. architectural shingles vs. premium impact-resistant options
- Roof pitch: steeper pitches require more labor time and safety equipment
- Decking condition: rotted or damaged plywood adds material and labor cost
- Local labor rates: vary by region and season
- Permit requirements: depend on municipality
For most Residential Roofing projects in the northeastern U.S., full Roof Replacement costs typically range from $8,000 to $18,000 depending on roof size, pitch, and material selection, based on general contractor pricing benchmarks for 2026. Commercial Roofing scopes vary more widely, often starting at $15,000 for smaller flat-roof structures. A free roofing estimate from a licensed contractor gives you the most accurate starting point. Generic online calculators do not account for your roof’s specific pitch, condition, or local code requirements.
Signs You Need Professional Help
Some situations are clear indicators that a professional assessment is non-negotiable:
- Visible sagging or structural deformation
- Multiple leaks in different locations
- Shingles missing after a storm
- Your roof is 20 or more years old with no prior replacement
- Storm or hail damage that may qualify for an insurance claim
Storm Damage Roofing inspections are especially time-sensitive. A professional inspection creates the documentation your insurance company will require, and most carriers expect a written report within 30, 60 days of a qualifying weather event. Attempting a DIY assessment on storm-damaged roofing is both unsafe and often counterproductive for claims purposes.
Maintenance and Long-Term Care
Routine Checks
Once your project is complete or while you’re in the planning phase, routine maintenance directly impacts how long your roofing investment lasts. Twice-yearly inspections (spring and fall) catch minor issues before they become expensive. Clean gutters are part of this equation: clogged gutters cause water to back up under the roofline and accelerate shingle deterioration.
Extending Results Over Time
The roofing estimate process doesn’t end when the job is complete. A documented maintenance schedule, combined with prompt attention to minor repairs, extends the life of your roof significantly. Most asphalt shingle products from manufacturers like Owens Corning and CertainTeed carry warranties of 25 to 50 years, though those warranties typically require proper installation by a credentialed contractor and documented maintenance to remain valid.
Commercial property owners especially benefit from scheduled preventive Roof Inspection visits, which roofing contractors like Tecta America and other commercial specialists incorporate as standard practice. The same principle applies whether you own a single-family home or a multi-unit building.
Conclusion and Next Steps
Quick Recap
Getting an accurate roofing estimate requires preparation on your part, a physical inspection by the contractor, and an itemized written quote that breaks down materials, labor, disposal, and warranty terms. Comparing multiple quotes based on scope (not just price) is the single most effective way to protect your budget and your property.
Recommended Next Actions
- Gather your roof history and document any visible damage before contacting contractors.
- Request at least two to three estimates and ask each contractor to break down their pricing.
- Verify licensing and insurance before signing any agreement.
- Ask about warranty coverage on both materials and workmanship.
- If you’ve recently experienced storm damage, prioritize a professional inspection for insurance documentation purposes.
Contact Top Gen Roofing for a professional assessment. Whether you’re planning a full replacement, dealing with storm damage, or simply want to know where your roof stands, an honest and thorough estimate is the starting point. Reach out to discuss your project and get a clear picture of what your roof actually needs.
Frequently Asked Questions
What does a roofing estimate include?
A thorough roofing estimate should include an itemized breakdown of materials (shingles, underlayment, flashing, drip edge), labor costs, tear-off and disposal fees, permit costs, and warranty terms. A single lump-sum figure without line items makes it difficult to compare contractors accurately or understand what work is actually being performed.
How long does the roofing estimate process take?
The on-site inspection typically takes 30 to 90 minutes, depending on roof size, complexity, and accessibility. The written estimate is usually delivered within one to three business days after the visit. Contractors who quote on the spot without a thorough inspection are often working from incomplete information.
Is a free roofing estimate worth requesting?
Yes. A free roofing estimate from a licensed contractor provides a written scope of work and material breakdown at no obligation to you. It also gives you a basis for comparison when collecting multiple quotes.
Be cautious of contractors who charge for initial estimates unless the project involves highly specialized Commercial Roofing work.
What factors affect roofing costs the most?
The biggest cost drivers are roof size, material type, roof pitch, and the condition of the existing decking. A steep or complex roof with multiple valleys, dormers, or penetrations will cost more than a simple gable roof of the same square footage. Local labor rates and permit requirements also vary significantly by region.
How many estimates should I get before choosing a contractor?
Most roofing professionals and consumer protection resources recommend collecting at least three estimates before making a decision. This gives you a realistic range for your market and reveals whether any single quote is unusually low or high. When comparing, focus on what each estimate includes rather than the bottom-line number alone.
How do I know if a roofing contractor is legitimate?
Verify that the contractor holds a valid state or local license and carries general liability insurance plus workers’ compensation coverage. Ask for proof of both before any work begins. We’ve seen homeowners skip this step and face out-of-pocket liability costs exceeding $10,000 when an uninsured crew member is injured on their property.
You can also check online reviews, ask for references from recent projects, and confirm the contractor has a physical business address. Contractors who pressure you into same-day decisions or request large cash deposits upfront are warning signs worth taking seriously. Visit our frequently asked questions page for more guidance on evaluating contractors and understanding your options before committing to a project.