

If you are a homeowner or property owner preparing for a new roof, knowing what to expect during a professional roof installation removes a lot of uncertainty. This guide walks you through every phase, from pre-installation prep to final inspection, so you can stay informed, protect your property, and make confident decisions along the way.
Key Takeaways
- A professional roof installation follows a clear sequence: assessment, tear-off, decking repair, layered installation, and final inspection.
- Decking condition, flashing quality, and proper underlayment placement are the three factors most likely to determine long-term performance.
- Asphalt shingle roofs typically cost $5,000, $12,000 for an average-sized home; installation of a metal roof runs higher due to material and labor requirements.
- Most residential jobs finish in two to four days, though complexity and weather can extend that timeline.
- Always request itemized estimates, manufacturer warranty documentation, and a post-installation walkthrough before the crew leaves.
What You Need Before You Start
Before any shingles go up, a well-organized roof installation starts with the right materials, the right tools, and a clear plan. In our experience, skipping this phase is one of the fastest ways to delay a project or produce substandard results.
Tools and Materials Checklist
Your roofing contractor should arrive with everything needed to complete the job safely and correctly. Here is a practical overview of what a professional installation requires:
| Category | Items |
|---|---|
| Roofing materials | Shingles (asphalt, architectural, or specialty), underlayment, ice and water shield |
| Structural components | Roof decking (OSB or plywood), ridge cap, drip edge flashing |
| Fasteners and sealants | Roofing nails, staples, roofing cement, caulk |
| Tools | Nail gun, roofing hammer, utility knife, chalk line, pry bar |
| Safety equipment | Harnesses, ladders, toe boards, fall protection anchors |
| Ventilation | Ridge vents, soffit vents, or attic ventilation inserts |
If you are considering the installation of a metal roof, the material list changes significantly. Metal panels, specialized screws, and sealant tape replace standard shingles and roofing nails, and cutting tolerances are tighter. Discuss the specific material list with your contractor during the estimate.
Safety and Prep Considerations
Roofing is one of the more hazardous trades, and a reputable contractor takes safety seriously before a single shingle is touched. Expect the crew to use fall protection systems and adhere to recognized construction safety standards on every job. According to the U.S.
Bureau of Labor Statistics, falls account for the majority of construction fatalities each year, which is why fall-arrest gear is non-negotiable on any professional site. On your end, prepare the property before the crew arrives. Move vehicles out of the driveway, cover delicate landscaping or outdoor furniture near the work zone, and clear the attic of stored items that could be damaged by vibration.
For more detail on protecting your home, see how to avoid property damage during roof repair and replacement.
Step-by-Step Walkthrough
Understanding what to expect during a professional roof installation means following the sequence your contractor uses. Each step builds on the last, and skipping any one of them creates problems downstream.
Step 1: Assess the Current Situation
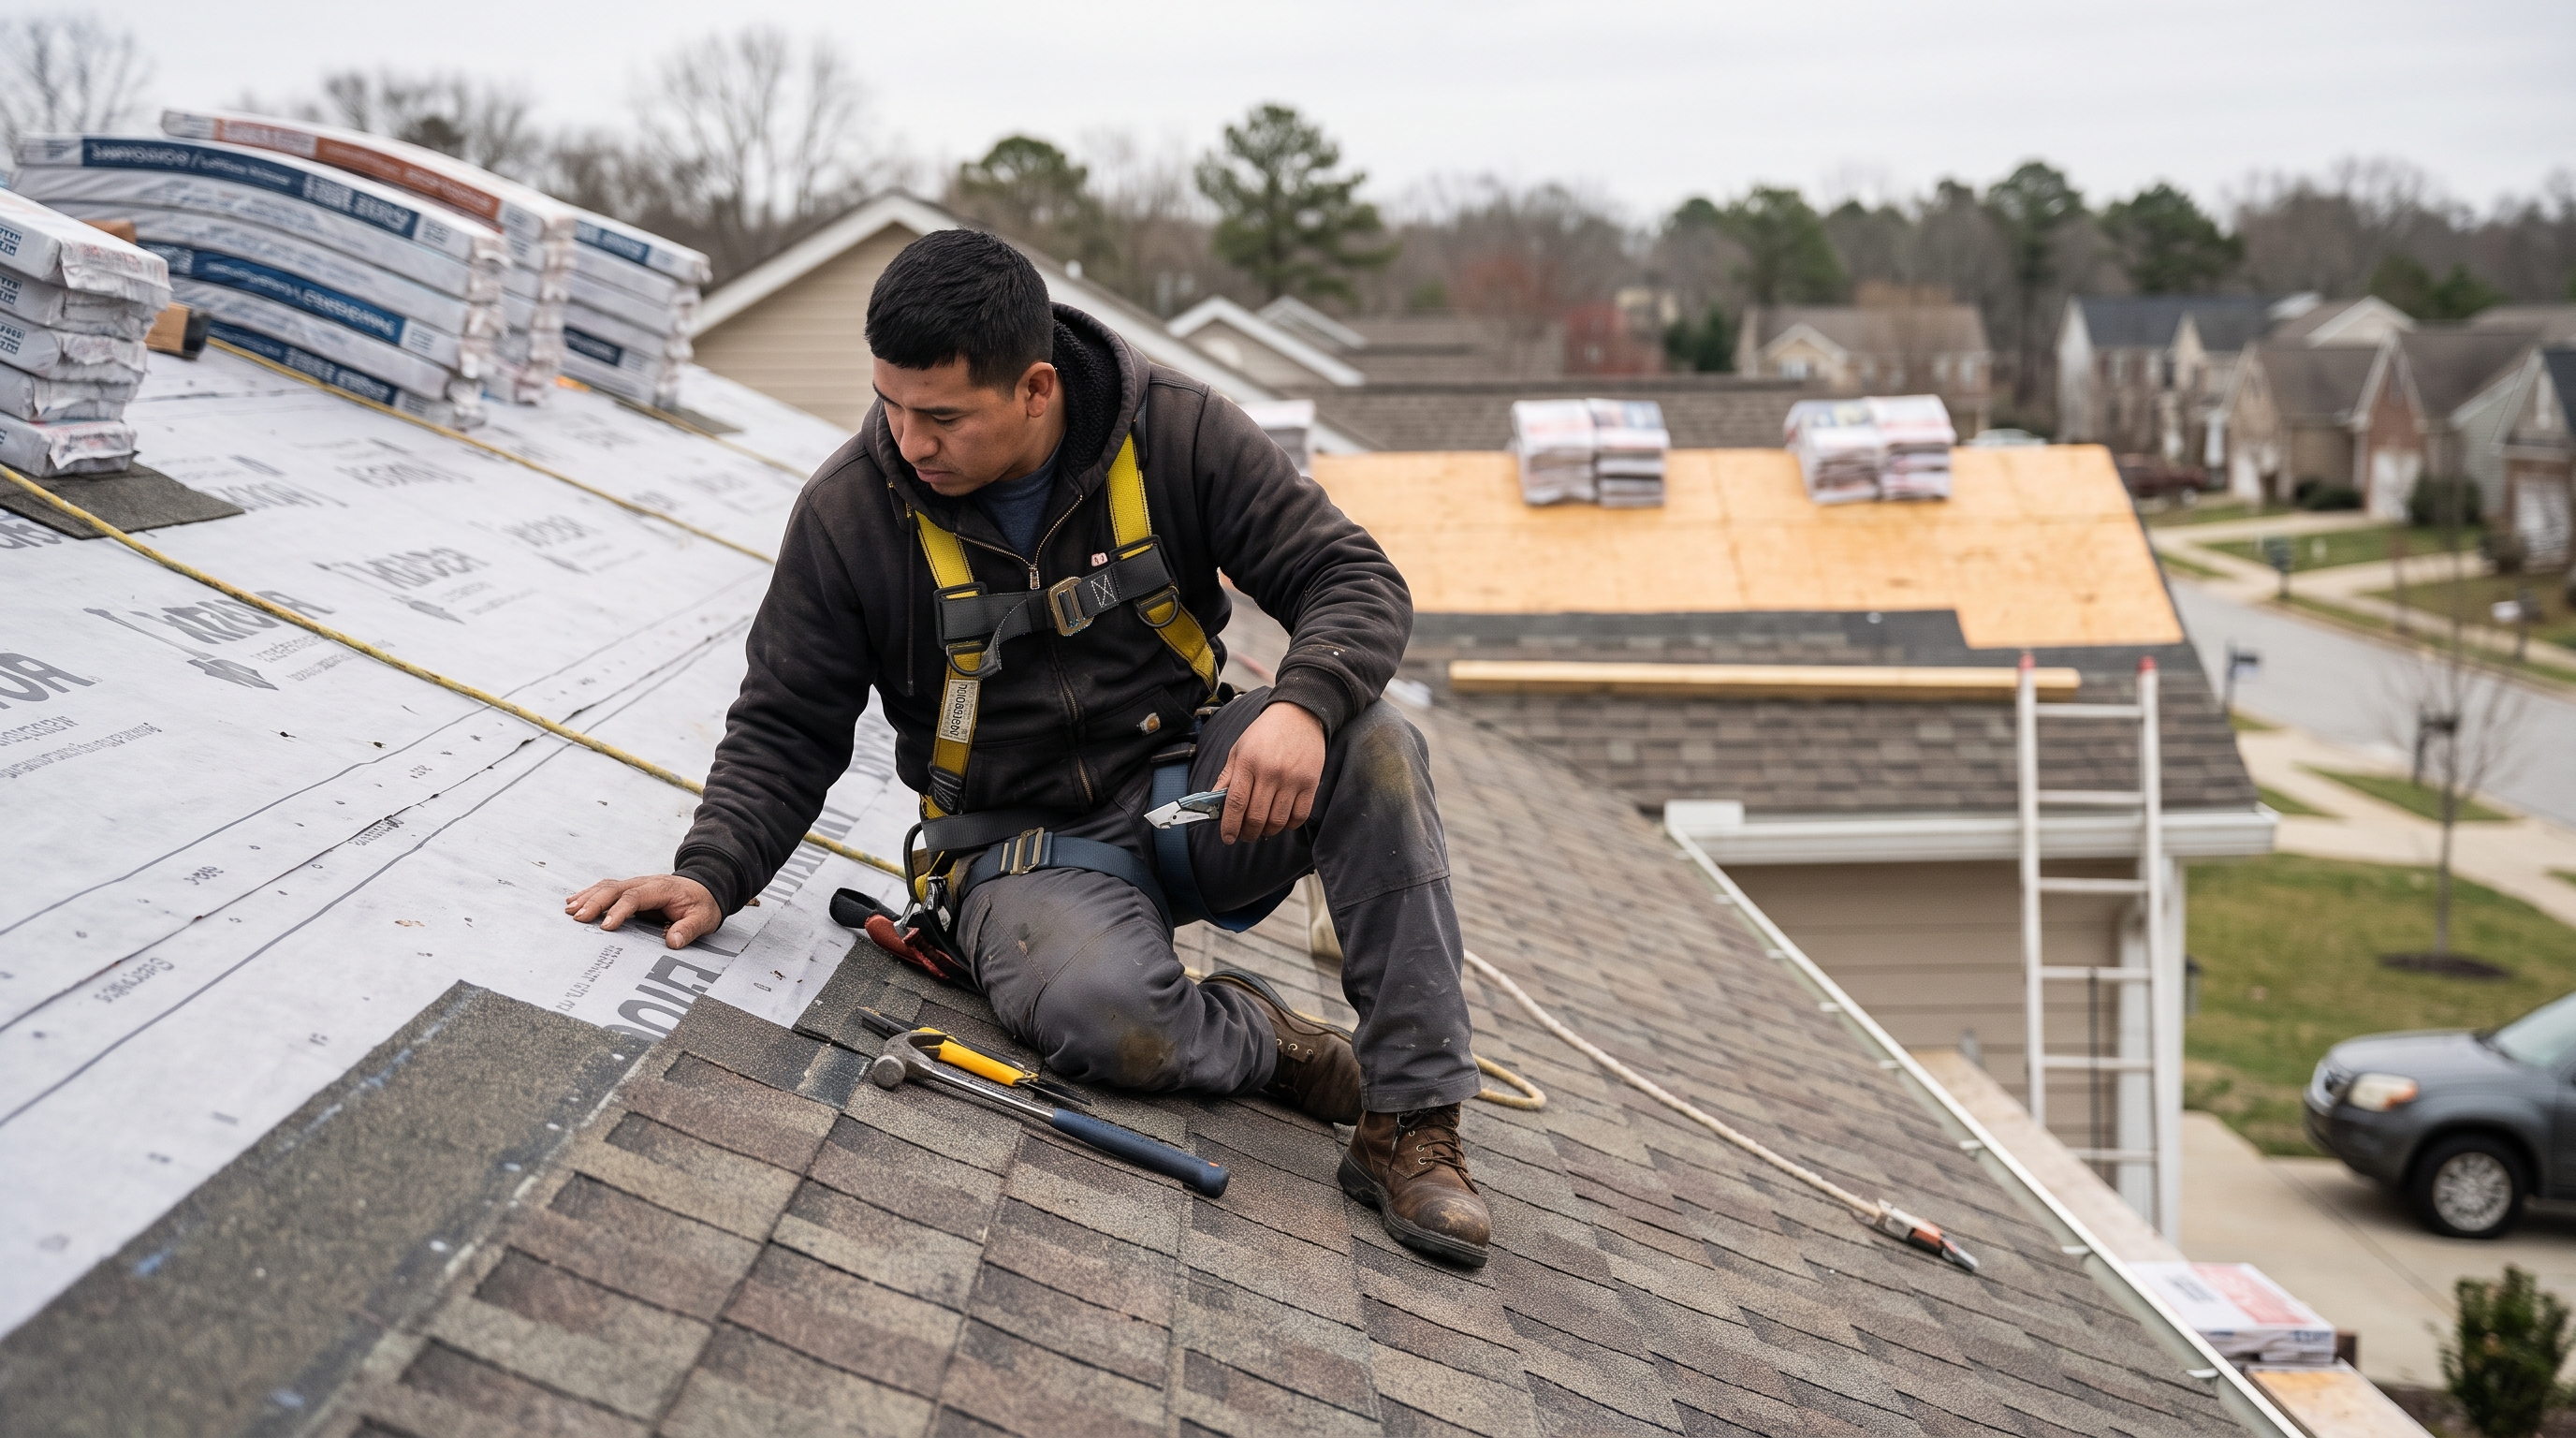
Before demolition begins, the crew inspects the existing roof. They check for damaged decking, soft spots, signs of rot, and any areas where the structure may need reinforcement. This is not a formality.
Finding weak decking now prevents costly repairs after the new roof is installed. We’ve seen homeowners surprised by add-on costs when hidden rot is discovered mid-job, addressing it upfront keeps the project on budget. Your contractor should walk you through any findings and explain how they affect scope or cost.
A transparent assessment is a sign of a trustworthy contractor. If they skip this step entirely, that is a red flag.
Step 2: Prepare the Work Area
Once the assessment is complete, the crew removes the old roofing material, stripping shingles, pulling up the underlayment, and disposing of debris responsibly. A professional team brings a dumpster or uses tarps to catch falling material and protect your yard. After the old roof is stripped, the decking is inspected again at close range.
Any damaged boards are replaced before the new layers go down. This is the moment that separates a thorough Roof Replacement from a quick cover-up job.
Step 3: Execute the Core Work
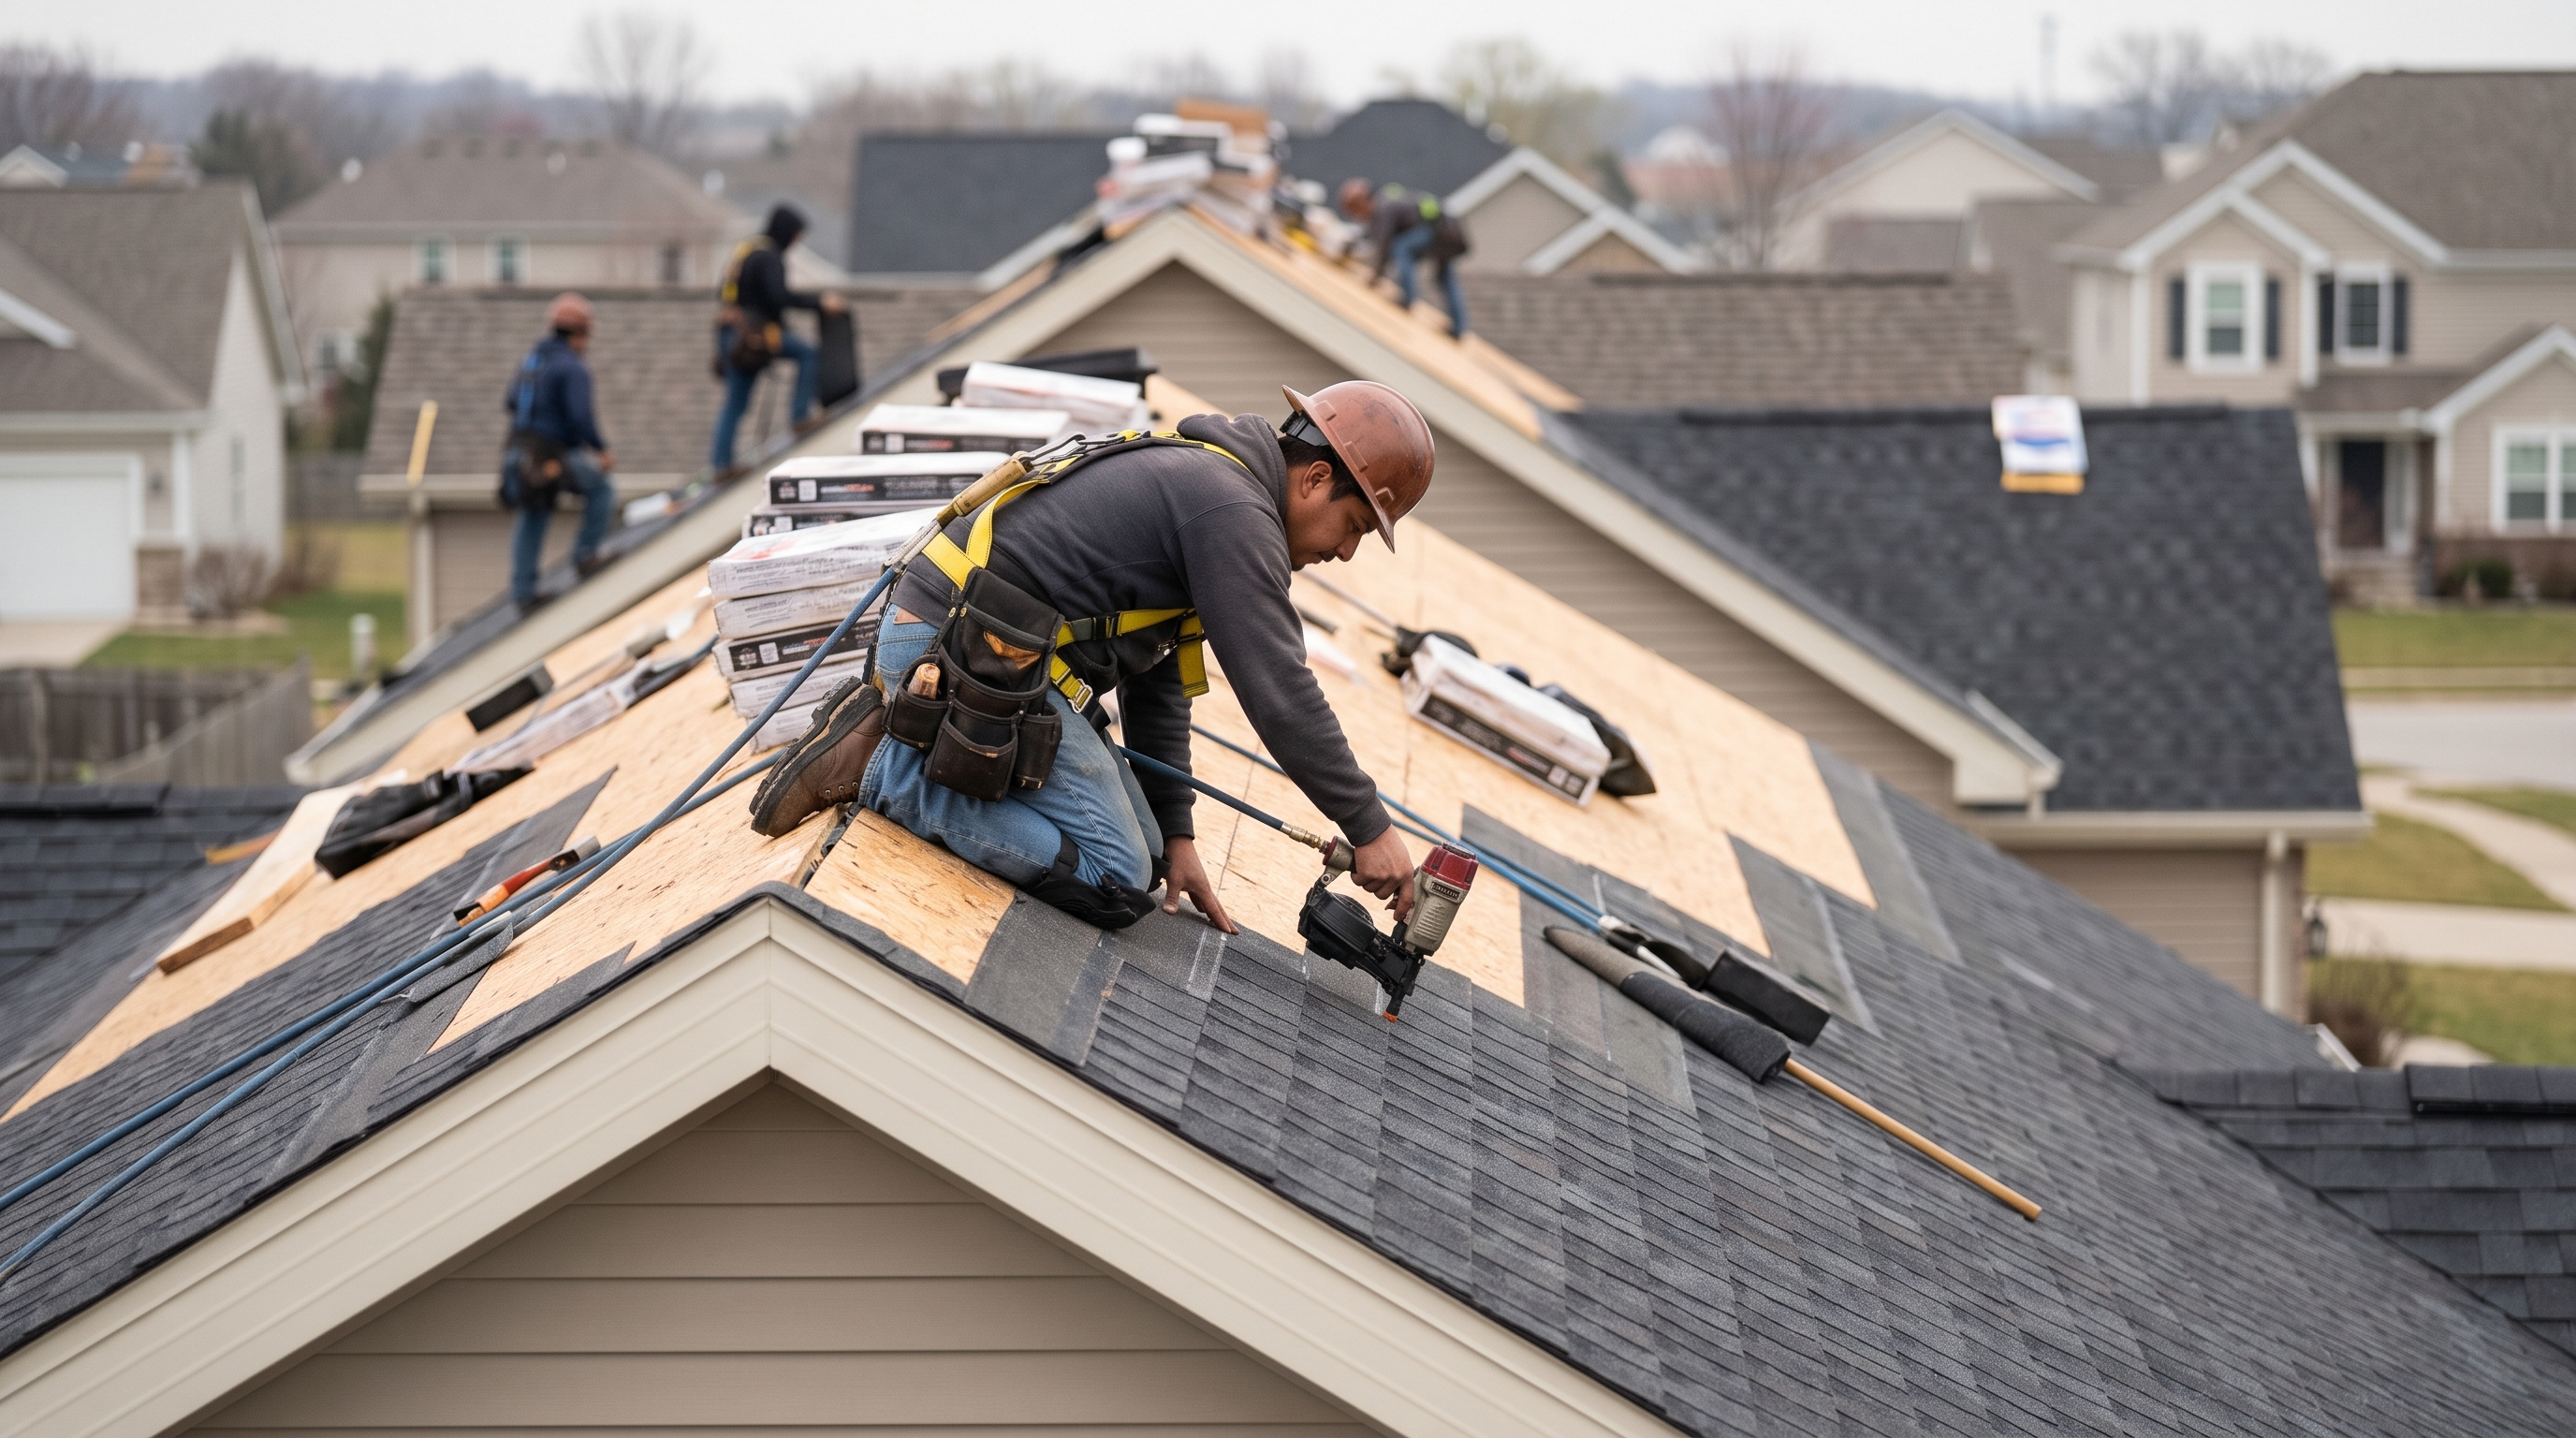
With clean decking in place, the installation proceeds in layers. The crew starts with ice and water shield along the eaves, a step that matters especially in climates with freeze-thaw cycles, then rolls out the underlayment across the full deck. Drip edge flashing goes along the edges to direct water away from the fascia.
From there, shingles are installed in overlapping rows from the bottom of the roof to the ridge, with each course aligned using chalk lines for consistent spacing. Flashing is installed around chimneys, skylights, and valleys to seal vulnerable transition points. Ridge cap shingles finish the peak. Residential Roofing projects following this sequence consistently produce roofs rated for 25, 50 years depending on the material selected, according to product documentation from manufacturers like Owens Corning and CertainTeed.
For a closer look at the craftsmanship involved, visit mastering the art of roof installation.
Step 4: Inspect Quality and Wrap Up
After the last ridge cap goes down, a quality crew does not simply pack up and leave. They perform a thorough inspection of the finished surface, checking for exposed nail heads, misaligned shingles, gaps in flashing, and areas that may need additional sealant. The crew should also walk the yard with a magnetic roller to collect stray nails from the debris zone.
You should receive documentation of the materials used, the warranty terms, and any manufacturer registration details before the crew leaves your property.
Common Mistakes to Avoid
Even with a professional crew, knowing where things can go wrong helps you ask better questions and hold your contractor accountable.
Skipping Prep or Planning Steps
The most common installation failure starts before a single shingle is installed. Inadequate decking inspection, improper ice and water shield placement, or skipping flashing details all lead to leaks within the first few seasons. Ask your contractor to explain their prep sequence before work begins.
Cutting Corners on Quality Checks
Mid-installation quality checks matter. A nail driven too deep compresses the shingle mat and reduces wind resistance. Improper overlap spacing allows wind-driven rain to penetrate.
These are details a careful crew catches in real time, not after the fact. Commercial Roofing scopes follow the same logic, when working with clients on larger flat or low-slope systems, skipped quality checkpoints during membrane installation are a leading cause of premature failure.
Rushing the Final Inspection
The post-installation walkthrough is not optional. It is your opportunity to identify visible issues while the crew is still on-site and can correct them without a return visit. Review the roof from multiple angles, check the gutters and downspouts, and confirm the warranty paperwork is complete.
Timeline, Cost, and When to Call a Pro
One of the most common questions homeowners have when they need to know what to expect during a professional roof project is how long it takes and what it costs.
Typical Project Timeline
| Project Phase | Typical Duration |
|---|---|
| Initial assessment and estimate | 1, 3 days (scheduling) |
| Material delivery and setup | Half day |
| Tear-off and decking inspection | Half to full day |
| Shingle installation | 1, 2 days (avg. home) |
| Cleanup and final inspection | Half day |
| Total (typical residential) | 2, 4 days |
Weather, roof complexity, and material type all affect this timeline. An installation of a metal roof generally takes one to three days longer than a standard asphalt shingle job due to the precision cutting and panel alignment required.
Budget Ranges and Cost Drivers
Roofing costs vary based on square footage, pitch, material choice, and regional labor rates. Asphalt shingle roofs typically run $5,000, $12,000 for an average home in the Northeast, while metal systems can reach $15,000, $30,000 or more depending on panel type and complexity. Key cost drivers include decking replacement, flashing complexity, number of penetrations (chimneys, skylights, vents), and waste factor on steep or complex roofs.
Always request an itemized estimate so you understand exactly what you are paying for.
Signs You Need Professional Help
If you are unsure whether your roof needs Roof Repair or full replacement, a professional inspection clarifies the situation quickly. Visible sagging, interior water stains, granule loss in gutters, and shingles that are curling or missing are all indicators that a professional roof inspection is overdue. Storm Damage Roofing situations, hail impacts, wind-lifted shingles, or debris punctures, often look minor on the surface but can compromise the deck and underlayment beneath. Do not wait for active leaks to take action.
Maintenance and Long-Term Care
A new roof is a significant investment. Protecting it starts the day the crew drives away.
Routine Checks
Inspect your roof visually at least twice a year, ideally in spring and fall. Look for lifted or missing shingles, debris buildup in valleys, and signs of wear around flashing. Clean gutters regularly to prevent water backup that can damage the eaves and underlayment.
For homes in New York’s Capital Region, seasonal freeze-thaw cycles and heavy snowfall make these checks especially important. We’ve seen minor flashing gaps turn into interior water damage after a single hard winter when routine maintenance was skipped.
Extending Results Over Time
Proper attic ventilation is one of the most overlooked factors in roof longevity. Poor ventilation causes heat and moisture buildup that degrades shingles from below and can void your manufacturer warranty. Confirm that your contractor addressed ventilation during installation and schedule a roof tune-up if you notice early signs of wear between full replacement cycles.
Trim overhanging tree branches that deposit debris and create moisture pockets on the surface. Keep moss and algae growth in check with zinc strip treatments or algae-resistant shingles. These steps cost little but extend your roof’s service life by 5, 10 years in many cases.
For broader Roof Inspection guidance and standards, resources from Bone Dry Roofing offer useful context on what professionals look for during routine evaluations.
Conclusion and Next Steps
Quick Recap
Knowing what to expect during a professional roof installation helps you stay prepared, ask the right questions, and protect your home throughout the process. From the initial assessment to the final nail sweep, every phase has a purpose. A reputable contractor follows this sequence consistently and documents the work so you have a clear record.
Recommended Next Actions
If you are planning a new roof or approaching the end of your current one’s service life, start with a professional assessment. Review the full roofing process to understand how Top Gen Roofing approaches each project from first contact to final walkthrough, and contact the team for an honest evaluation of what your home needs.
Frequently Asked Questions
How long does a professional roof installation typically take?
Most residential roofs take two to four days from tear-off to final inspection. Larger homes, steep pitches, or complex roof lines can add time. Metal roof installations generally run one to three days longer than standard asphalt shingle jobs.
Weather delays are common, so build flexibility into your schedule.
Do I need to be home during the roof installation?
You do not need to be present for the entire job, but you should be available for the initial walkthrough and the final inspection. These two points are where your input and review matter most. A reputable contractor communicates progress throughout the day and will contact you if unexpected conditions arise.
What happens if the decking is damaged?
If the crew finds rotted or damaged decking after stripping the old roof, it needs to be replaced before new materials go down. This is a common scenario in older homes and is typically billed as an add-on to the original estimate, expect $2, $5 per square foot for board replacement in most markets. Addressing damaged decking is not optional, as installing over a compromised deck shortens the life of the entire roof system.
Will my landscaping or property be damaged during installation?
A professional crew takes steps to protect your property, including covering plants and shrubs near the work zone and using tarps to catch debris. Nail guns and heavy bundles can still cause incidental damage if your yard is not properly prepped. Move vehicles, patio furniture, and fragile plants before the crew arrives.
For more guidance, review how to avoid property damage during roof repair and replacement.
How do I know if my roof installation was done correctly?
Start with the final walkthrough while the crew is still on-site. Check that all shingles are uniform in alignment and color, flashing is sealed tightly around every penetration, and there are no exposed nail heads visible on the field of the roof. Ask for the manufacturer’s warranty documentation and confirm that your contractor has registered the installation if required.
Reading through customer reviews from other homeowners can also give you a realistic sense of what a quality finished job looks like.
What is the difference between roof repair and full roof replacement?
Roof Repair addresses isolated damage, such as a few missing shingles, a cracked flashing seal, or a small leak around a chimney. Full Roof Replacement removes all existing materials down to the decking and installs a complete new roofing system. If your roof is more than 20 years old, has widespread granule loss, or shows signs of structural compromise, replacement is typically the more cost-effective long-term decision.
A professional Roof Inspection gives you the objective data you need to choose the right path. Review the roof replacement guide to understand the full scope of what that process involves.